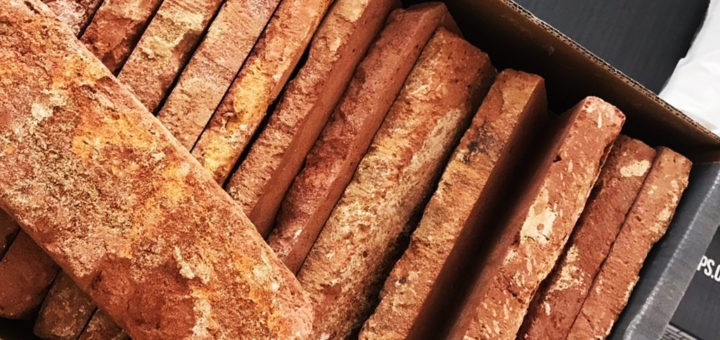
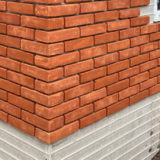
Thin bricks for exterior walls – aka brick slips or brick tiles, or sometimes just ‘slips’. Lots of people ask us what is the difference between thin bricks and traditional bricks?
Thin bricks for exterior walls aka brick slips, differ from traditional bricks in their size and weight. While traditional bricks are thicker and heavier, thin bricks machined veneers making them lighter and easier more versatile for various domestic and commercial projects. This difference in size allows for easier installation and greater flexibility in design choices.
Are thin bricks for brick walls as durable as traditional bricks?
Despite their thinner profile, they are just as durable as traditional bricks. They are constructed from the same real high-quality bricks, using clay materials, that are specifically chosen for their strength and resilience. Indeed. this makes them a reliable choice for exterior walls.
Can I use thin bricks for brick walls for both residential and commercial buildings?
Absolutely they can! We have a range of customers and they kindly tag us in their completed projects on social media. Check out our instagram @ukbrickslips for inspiration.
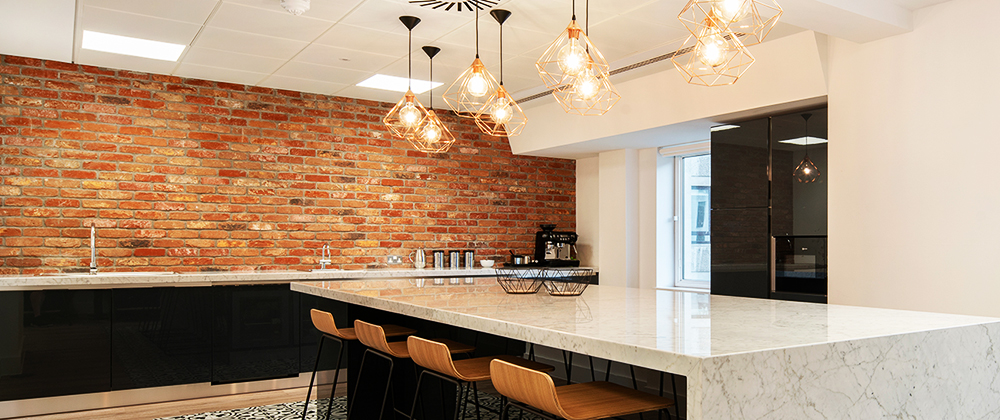
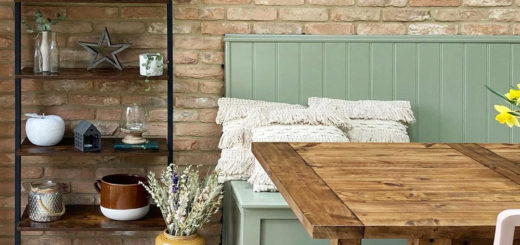
Thin bricks are suitable for a wide range of construction projects, whether it’s a residential home or a commercial building. Their versatility and adaptability make them an excellent choice for enhancing the aesthetic appeal of any structure. Whether you’re renovating your home’s exterior or designing a new commercial complex, thin bricks can add a touch of elegance and charm.
Installation Process
Thin bricks can be installed on any exterior surface. Please check the substrate is capable of supporting 30kg per m2. The installation process involves the following steps:
Step 1: Prepare your surface
Firstly,clean the wall surface – free from any dirt, debris, or loose paint. Repair any cracks or holes before installation.
Please check the substrate is capable of supporting 30kg per m2
Step 2: Plan your layout
Secondly, lay out the brick slips to determine the pattern and design. Cut and shape as needed to fit the wall surface.
Step 3: Installation
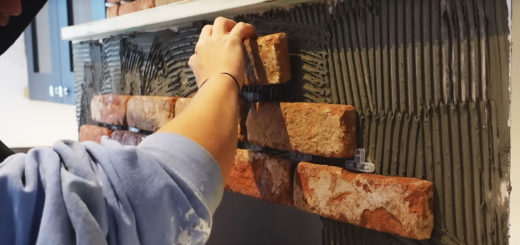
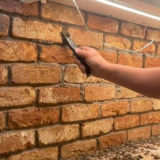
Next, install the thin bricks with our rapid set adhesive and pointed up with any of our mortar ranges, depending on the type of thin brick used. Space bricks evenly and level to ensure a smooth and uniform surface. Use our 10mm spacers to help with this.
Step 4: Mortaring
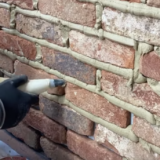
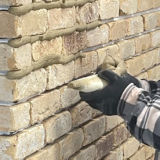
Finally, after the thin bricks are installed, mortar should be applied to fill any gaps or spaces between the slips. The mortar needs to dry for several hours. Our mortar selection can be found here.
Conclusion
Thin bricks for exterior walls offer a range of benefits, including cost effectiveness, durability, flexibility, and low maintenance. We supply different ranges, with different thicknesses of slips, depending upon your requirements, each with unique characteristics and benefits, and can be easily installed on any wall surface. If you are considering an exterior wall renovation or construction project, thin bricks can be an innovative and cost-effective solution.


