


You’ve chosen your brickslips and mortar, now for the fitting. Installing a decorative brick wall. Here is your guide to a stress free installation for all you DIY’ers out there!
Preparation is Key
Firstly, what substrate are you fixing the brick slips to?
PVA Bond
Before use, the substrate may need to be prepped. We recommend the use of PVA bond on newly plastered and painted walls for example, before applying the adhesive. https://brickslips.co.uk/brick-slip-accessories/85-universal-pva-bond-5-ltr.html
PVA bond is for use on plastered and painted internal walls as a primer/sealer.
Adhesive
A cement based Rapid Setting tile adhesive is most commonly used to adhere the brick slips. Our Rapid Set Adhesive is the perfect choice for most common installations. https://brickslips.co.uk/brick-slip-accessories/55-rapid-set-brick-slip-adhesive-20kg.html
Always check to see if the weight is suitable for your substrate. A metre squared of brickslips weighs approximately 35kg.
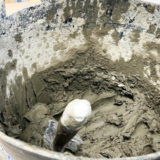
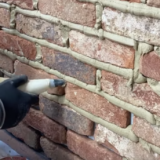
Mortar
Our high quality gun injected mortar is a lime based mortar product that is designed to be used in conjunction with our Mortar pointing gun. Each bag of Gun injected Mortar points approximately 4 square meters of brickslips.
- Please do not mix all of your adhesive and mortar before installation. We advise splitting the proportions to either a half bag or quarter bag at a time to avoid setting while you work. This way you have more time to install.

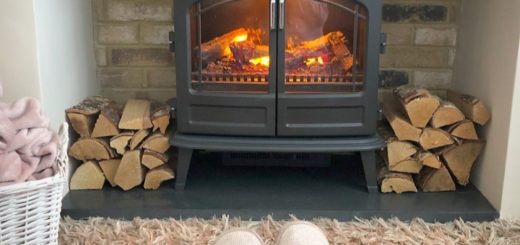
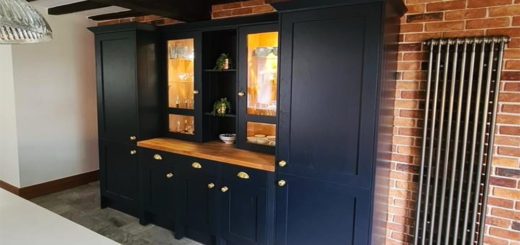
Installing a Decorative Brick Slip Wall
Top tips:
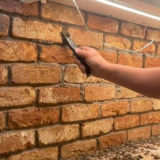
- Use a spirit level to ensure that the levels are correct. Starting at the bottom of the wall, mark a straight and level line across from one side to the other – this will be your starting point for the first layer of Brick slips. You may be able to utilise existing features such as skirting boards, render beads etc for this stage.
- We always recommend you lay from several boxes of brick slips at the same time to ensure a nice even colour variation, and to avoid any “banding” issues.
- Make sure that your courses are level from the get go is paramount. Our advice is to check the levelling every 3-4 courses and adjust to suit. Most of the brick slips we produce are made from handmade and reclaimed bricks. This brick type means that there are variances with sizes so levelling throughout is always advised when installing.
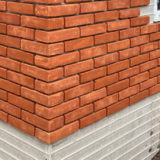
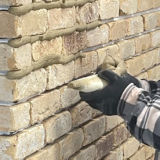
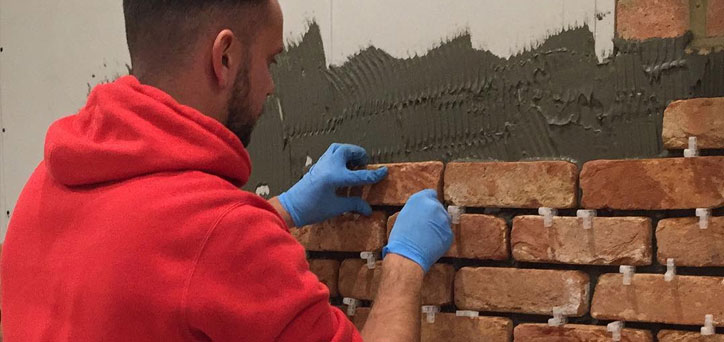
1. Start at one end of your wall, push the first brick slip firmly onto the adhesive applying even pressure across the whole face of the brick slip.
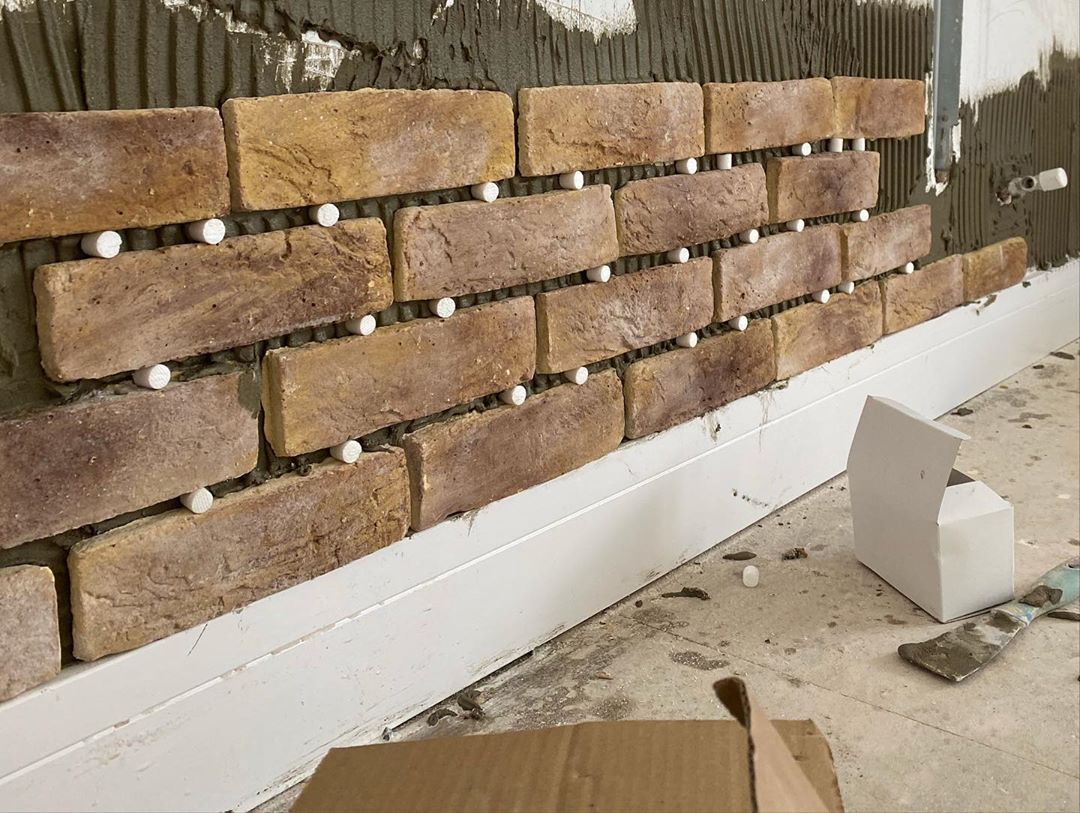
2. After the first slip is installed push the 10mm T spacer into the adhesive at the end of the brick slip, and then apply the next brick slip, making sure it is tight up against the T spacer.
3.Repeat this process , laying in horizontal runs until you have completed the wall.
4.Install corners in the same process as the brick slips.