


Mortar waste isn’t just what you scrape from the bucket at the end of the day. It hides in overmixed batches, poor water control, bad storage, and lost time at the mixing station. Every hardened rim on a bucket, every damp bag you can’t use that’s money and material you’ve already paid for, quietly going to waste.
The Hidden Costs of Overmixing and Overordering
Mixing more than you need is one of the biggest sources of mortar waste. Once a batch goes past its workable time, it’s worthless even if it looks okay. Using expired mortar can lead to weak bonding or hairline cracks later, and those call-backs cost far more than the wasted material itself.
Overordering has a similar effect. Extra bags sitting around get damaged, go damp, or simply expire. It’s waste you could have avoided with a few minutes of planning.
Environmental and Compliance Impacts
When mortar waste goes in the skip, it adds unnecessary weight,and disposal costs. Wash water and fines that end up in drains can even breach environmental regulations. Every wasted bag also carries an unseen footprint: the raw materials, packaging, transport, and disposal all add up.
Get Your Mix Right, Materials, Ratios, and Performance
The right mix for the right job is the easiest way to avoid waste.
If your mix is too weak, you’ll redo work later. Too strong, and you’ll overspend on materials that are harder to use and more likely to crack.
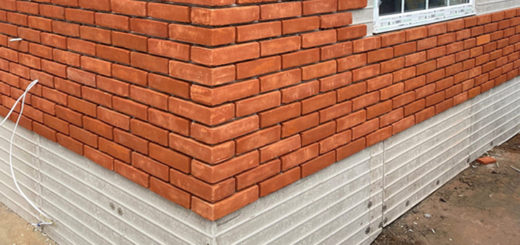
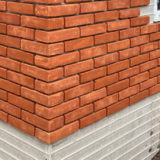
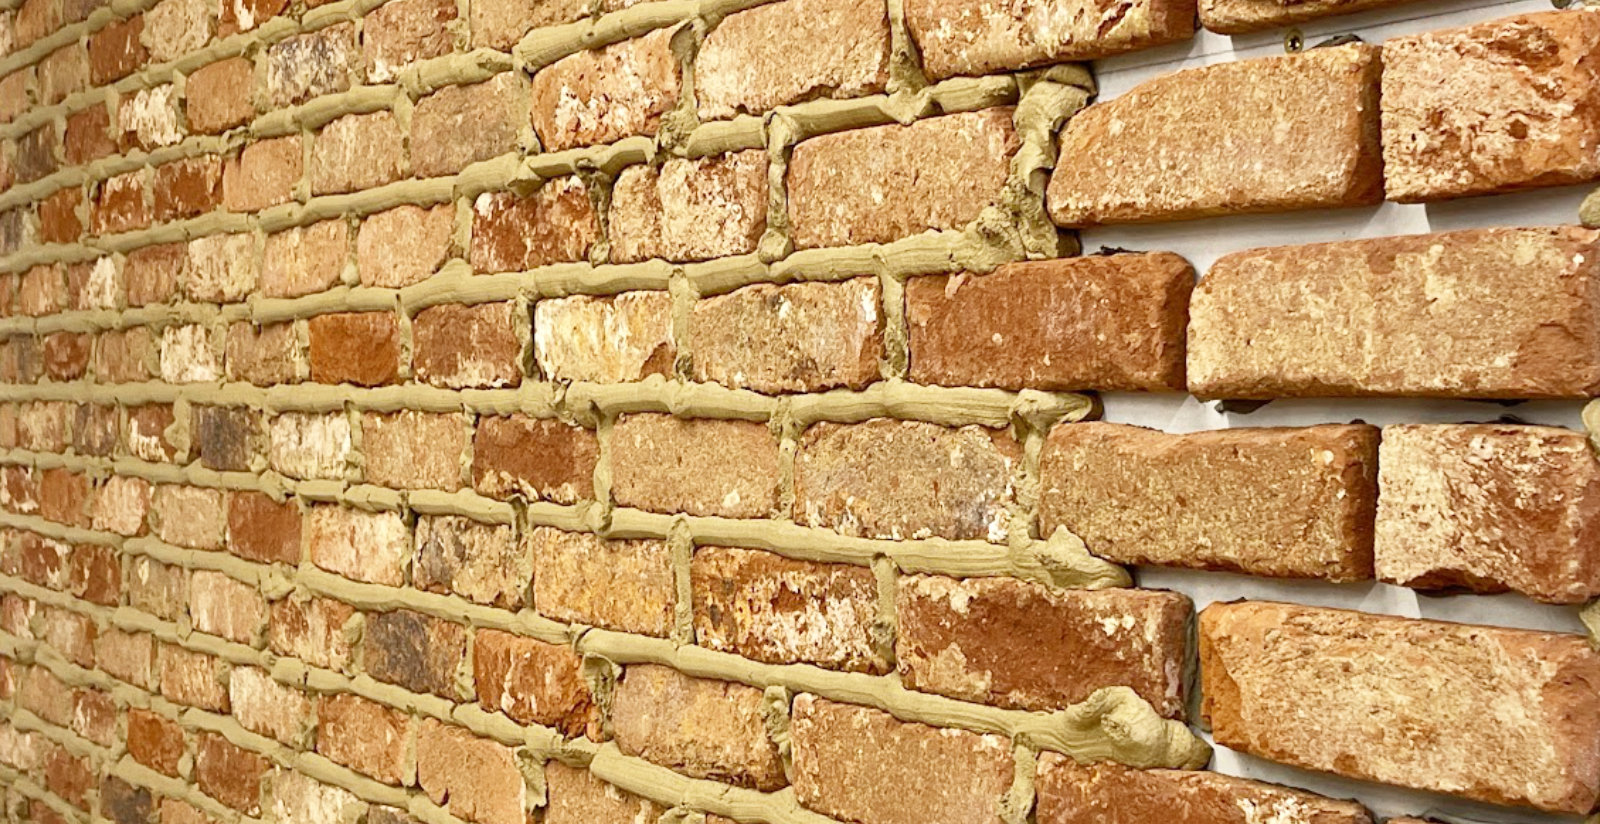
For most brick slips or standard masonry work, a medium-strength, workable mortar gives the best results. It spreads evenly, bonds reliably, and helps reduce waste.
How Additives Can Reduce Mortar Waste
-
Lime improves workability and keeps water in the mix longer, so you can work at a steady pace without rushing.
-
Plasticisers create a smooth, creamy texture without adding excess water, one of the main causes of wasted batches.
-
Retarders and accelerators adjust setting times for hot or cold weather, helping you avoid early setting or long delays.
Plan Smart, Mix the Right Quantity at the Right Time
You don’t need fancy tools to plan properly. A simple calculator, a note pad, and a realistic look at your team’s pace will save you money.
How to Calculate the Right Amount of Mortar
-
Measure your work area in square metres.
-
Estimate joint volume (width × depth × coverage).
-
Convert to mortar volume and add a 5-10% buffer not 20% “just in case.”
Mix slightly less than you think you need, and top up with a small follow-on batch if necessary. It’s far better to mix twice than to throw away half a tub.
Delivery and Storage Timing
Plan deliveries to match your work rate. Don’t let logistics force you into mixing oversized batches “because the forklift’s here.” Productivity should drive your batching schedule, not convenience.

Store Materials Properly, Stop Spoilage Before It Starts
Every damp or clumped bag is wasted profit.
-
Keep bags off the floor on pallets with a vapour barrier.
-
Allow airflow around stored materials, but keep them covered.
-
Rotate stock first in, first out and date-mark pallets so nothing sits too long.
Even small improvements in storage can cut mortar waste by 10-15% over a project.
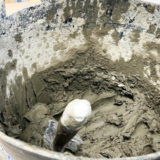
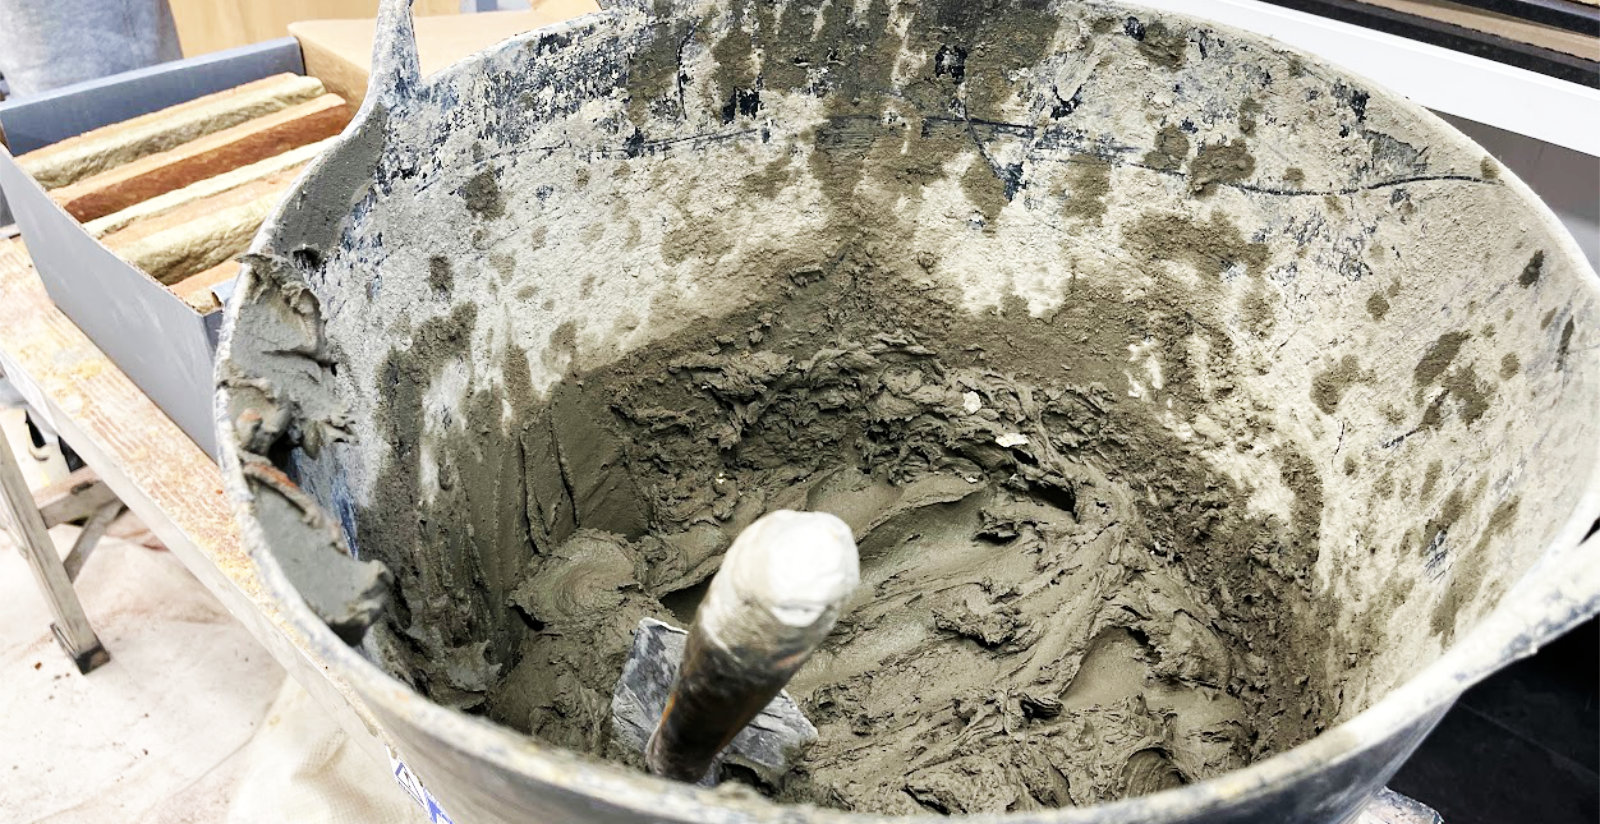
Control Your Water, The Number One Cause of Rejected Mixes
Too much water ruins more mortar than any other mistake. It weakens the mix, shortens working time, and forces re-mixing.
How to Measure Water Consistently
-
Use a labelled jug for each batch (for example, 5 litres).
-
Record water amounts and ambient temperature.
-
Adjust only in small increments, never by eye or “a splash.”
Use plasticisers to improve workability instead of extra water. They give the same smooth texture without sacrificing strength.
Mixing Methods That Save Time and Material
Consistency beats guesswork every time. Choose a batch size and stick to it.
-
Paddle mixer – Great for small jobs like brick slips or pointing.
-
Pan mixer – Ideal for medium batches with reliable results.
-
Silo systems – Perfect for large-scale jobs with calibrated output.
Run a small test batch each morning to confirm your mix ratio and water amount. Adjust once, then repeat consistently through the day.
Set Up a Clean, Efficient Mixing Station
A tidy, well-organised mixing area prevents most waste before it starts.
-
Arrange your mixer, water, and materials in a tight working triangle.
-
Label all containers (“water only,” “additives,” etc.).
-
Cover tubs and keep mixing areas dry in rain or shaded in heat.
When your setup is efficient, your team won’t cut corners or overmix.
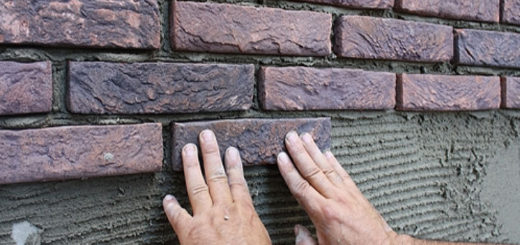
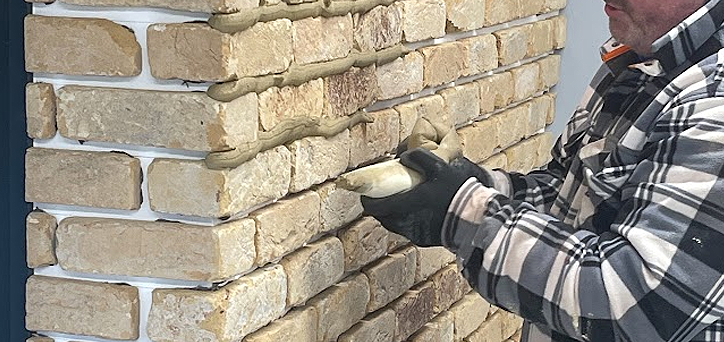
On-Wall Practices That Cut Mortar Waste in Half
-
Pre-dampen substrates so fresh mortar doesn’t dry too fast.
-
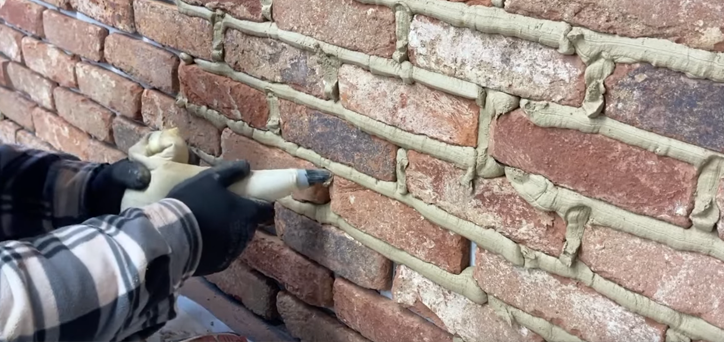
Use a consistent trowel technique to avoid overloading beds.
-
Work in 20 to 30 minute batches to keep mortar fresh and avoid discarding half a tub.
Reuse and Recycle Responsibly
If your mortar is still fresh and uncontaminated, you can re-temper it slightly with measured water or plasticiser. Once it begins to set, however, don’t risk it reusing half-dead mortar leads to failure.
Fully set mortar can often be reused as hardcore fill or aggregate on site, keeping it out of the skip and saving disposal fees.
Keep It Simple, Quick Quality Checks
You don’t need lab equipment to spot a bad batch.
Check three things:
-
Colour: consistent shade means consistent water.
-
Cohesion: mortar should stick to the trowel, not slide off.
-
Spread: should butter the back of a brick or slip evenly.
Keep batch cards and water logs. That record becomes your baseline for every new day.
Train Your Team, Make Waste Reduction a Habit
Reducing mortar waste is about consistency, not lectures.
Hold a quick 5-minute toolbox talk each morning:
-
Today’s mix and batch size
-
Expected working time and weather conditions
-
Clean-down responsibilities
Track how much material is used per square metre. Reward consistency. When people see the numbers and the savings they take ownership.
Health, Safety, and Compliance
Cement is highly alkaline always wear proper PPE. Safe handling not only protects you but prevents contamination and avoidable waste.
Segregate waste correctly: keep set mortar separate from general waste to lower skip weights and disposal costs.
How Much You Actually Save
Let’s say you use 20 pallets of mortar per year and waste around 8% through bad batching, storage, and overwatering. Cut that down to 3%, and you’ve saved a full pallet plus labour and disposal costs. Over time, those savings multiply.
Track these three numbers weekly:
-
Bags (or silo tonnage) in
-
Square metres laid
-
Skip tonnage
If your material use per m² climbs, fix it before it becomes expensive.
Conclusion
Reducing mortar waste isn’t about working harder it’s about working smarter. Dial in your batch sizes, measure your water, store materials properly, and train your crew to do the same every day. When you build consistency into your process, you’ll see real savings: fewer wasted bags, fewer skips, and fewer headaches.
FAQs
1. How do I choose the right batch size?
Start with what your team can lay in 20-30 minutes. Test a few batches and repeat the one that finishes with a little time to spare.
2. Can I add water to revive mortar?
Only if it’s still within workable time and uncontaminated. Add small, measured amounts and remix thoroughly.
3. Are plasticisers worth it?
Yes, they improve workability without overwatering, cutting waste and saving money.
4. What’s the quickest way to cut mortar waste now?
Standardise your water dosage and batch size. Those two steps alone can halve waste within a week.
5. How does weather affect mortar waste?
Hot weather shortens working time; cold weather slows set. Adjust your mix with retarders or accelerators and always test a small batch first.