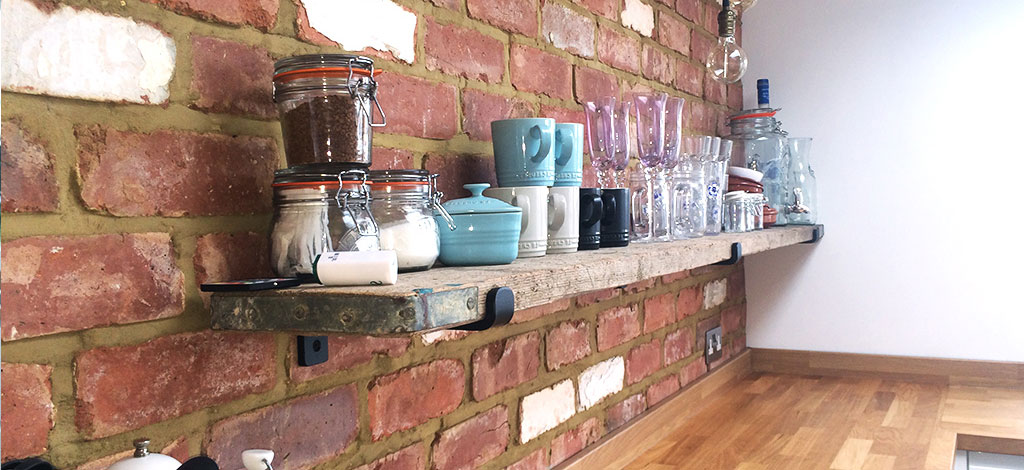
Brick Slip DIY Installation: Whilst uncertainty continues to grow concerning the current global pandemic many of us have found safety and solitude in making our homes as good as we can.
For some of us DIY comes easy for others not so easy one thing is true most DIY projects can be fulfilled so long as the correct materials tools and instructions are given.
Here we look to arm you with all the knowledge you will need for your brick slip DAY installation.
Our DIY brick slip tools and product checklist
- Brick slips
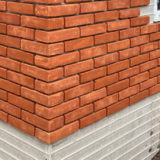
- Corner slips
- PVA bond Primer
- Rapid set tile adhesive
- Gun injecteable pointing mortar
- Brick slip tile spaces
- Sealant (optional)
- Spirit level
- Adhesive trowel
- Pointing trowel
- Brick jointer
- Steel wire brush
- Bucket
- Mortar pointing gun
- Tape measure
If you have installed tiles before in the past then brick slips will an easy transition for you.
All of our accessories can be found on our accessory page.
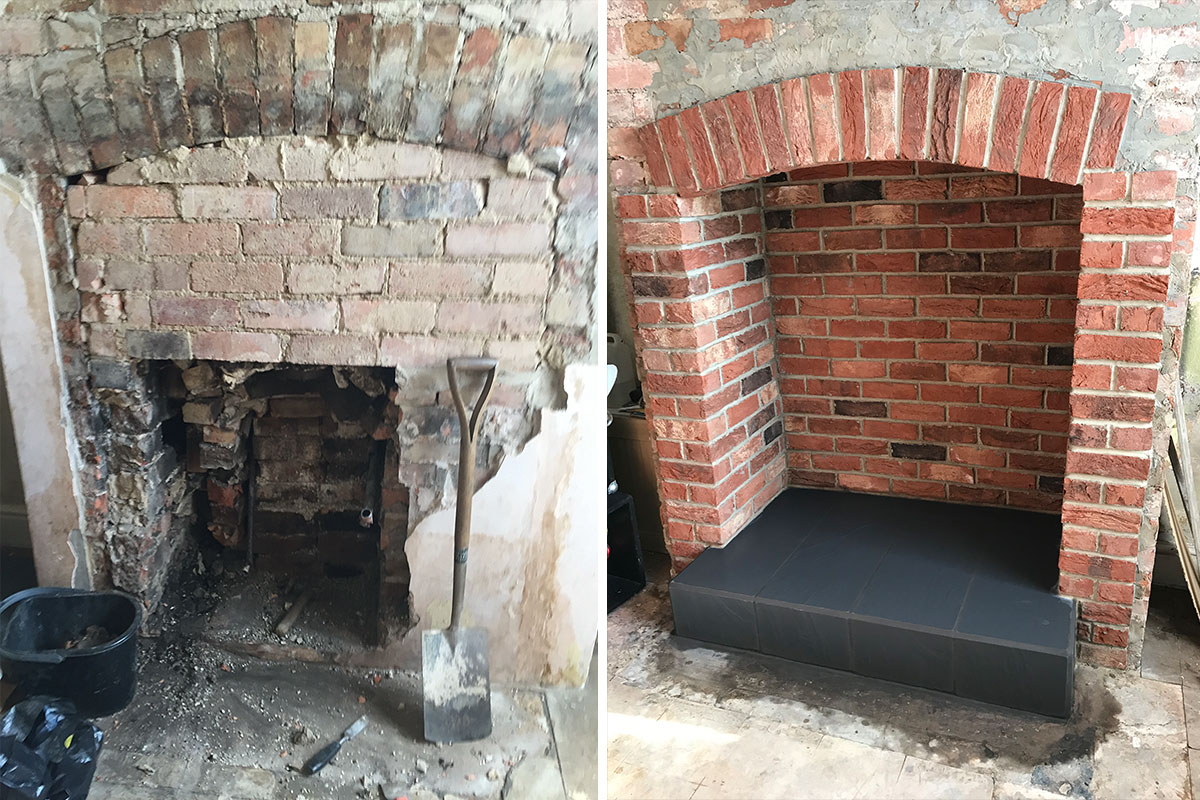
Brick slip DIY Installation checklist.
- Make sure your substrate is dust free and structurally sound it will need to be able to hold a weight of 30 kg/m²
- We would always advise using a PVA bond sealer on any porous substrate this will stop the substrate from drawing the moisture out of the adhesive before the adhesive has time to fully set
- If you have ordered a large quantity of brick slips and you have many boxes as with bricks we would advise working from multiple boxes at a time this will ensure a consistent product blend
- A common installation trick which is used by professional installers Is to mark out on the wall every four courses with a simple pencil line. using a spirit level twin sure that the courses are level means that as you are working up the wall you have guidance every four courses. Again this isn’t how everybody achieves installation but is one tip which we can give that does really work well.
- You may need to prepare the brick slips prior to adhesion. As brick slips are cut using water sometimes they can hold moisture this can cause dust to stick to the surfaces of the brick slip. On the surface this is not an issue as once the brick slips have fully dried out the front face surface will lighten and will become dust free.
- On the rear surface the cut face as we call it sometimes it may be necessary for you to brush any debris from the back using a steel wire brush.
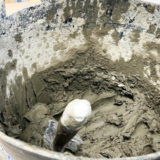
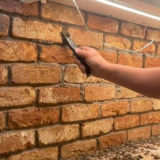
- Mix the adhesive as per the instructions on the bag. apply small amounts at a time to the wall to minimise waste and work from bottom to top edges to centre.
- Use brick slip tile spaces to install the brick slips these spaces will create a consistent 10 mil joint width across the whole wall.
- Once all your brick slips have been stuck to the wall we recommend leaving them to fully dry for a minimum of 48 hours
- When the time comes to point your wall mix a little of the pointing water at a time and use the manufacturers instructions.
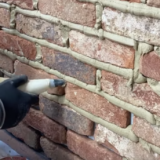
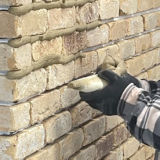
- Either using a mortar pointing gun or just a trowel and jointer by hand you can work across the wall pointing up your brick slips as you go.
- Once all the brick slips have been pointed and jointed and the mortar has cured you can give the surface a once over brush with a steel wire brush. This will make sure that any final loose debris will be removed.
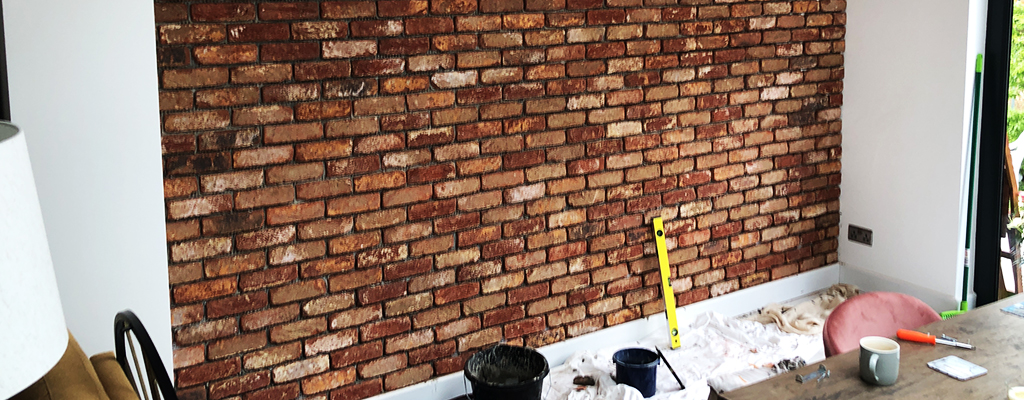
To seal or not to seal.
Sealing your brick slips is purely a preference, we sell two types of sealant here. A matt sealant called tile seal and protect, this sealant can be used and will not change the look of the brick slips.
We also sell a gloss sealant, this will enhance the colour and leave a glossy shiny surface.

Questions
I do hope that you found this brick slip DIY installation blog to be of help and hopefully you are now looking at embarking on your own brick slip DIY mission
Any more help or advice which you require you can get in touch via our Contact us Page, there is always somebody on hand to reply to your questions









Hi, do you have advice on working with corners, especially around chimney breast where the spacing of corner tiles mean you either end up with small pieces or cutting a full tile to still in-between fireplace column?