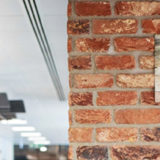
Brick slips offer a fantastic way to bring the timeless appeal of brickwork into your home or commercial space without the need for extensive structural work. While professional installation is always a sound option, you might prefer the hands-on approach, making your project truly your own. This comprehensive guide aims to simplify the process of installing brick slips, taking you through each step with clarity and precision.
Essential Tools and Materials
Before we delve into the installation steps, it’s crucial to have the right tools and materials at hand:
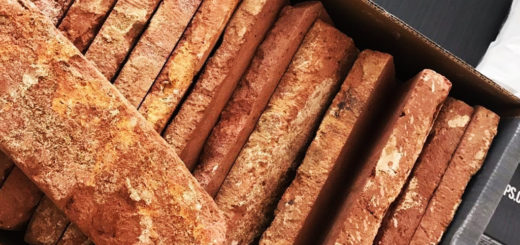
- Brick slips and corner slips (if required)
- Adhesive suitable for brick slips
- Spacers
- Grout
- Notched trowel
- Grout float
- Bucket and sponge
- Spirit level
- Safety glasses and gloves
Step-by-Step Guide to Installing Brick Slips
With your tools and materials ready, let’s simplify the installation process:
1. Prepare the Surface
Ensure the wall where you’re installing the brick slips is clean, dry, and free from loose debris. If the wall is painted, lightly sand the surface to allow better adhesion.
2. Apply the Adhesive
Using a notched trowel, spread the adhesive onto the wall. Only cover a small area at a time to prevent the adhesive from drying before the brick slips are applied.
3. Install the Brick Slips
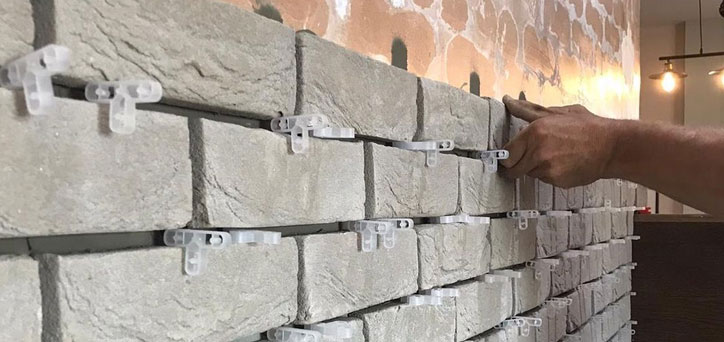
Start from the bottom corner of the wall. Place the brick slip onto the adhesive, applying slight pressure to ensure good adhesion. Use spacers to maintain consistent gaps for grouting.
4. Check the Level
Use a spirit level regularly to check the brick slips are straight and level. Make any necessary adjustments while the adhesive is still wet.
5. Cut Brick Slips When Necessary
You may need to cut some brick slips to fit around outlets, switches, or the edge of the wall. Measure and mark where the cut needs to be, and then use a wet saw or a handheld tile cutter to make the cut.
6. Apply the Grout
Once the adhesive has dried (usually after 24 hours), remove the spacers and apply the grout using a grout float. Make sure all joints are filled.
7. Clean the Wall
After grouting, wait for about 15-30 minutes for the grout to set, then clean the wall with a damp sponge, removing any excess grout from the surface of the brick slips.
Conclusion
Installing brick slips is a process that requires patience, precision, and attention to detail. However, by understanding each step and using the right tools, you can successfully install brick slips, transforming your space with the timeless beauty of brickwork. Remember, safety comes first, so always wear protective gear during the process.
FAQs
- What tools do I need to install brick slips? Essential tools for installing brick slips include a notched trowel, spacers, a grout float, a bucket and sponge, a spirit level, and safety glasses and gloves.
- How long does the adhesive take to dry? The adhesive usually takes around 24 hours to dry, but this can vary depending on the specific product used. Always refer to the manufacturer’s instructions.
- Can I cut brick slips? Yes, brick slips can be cut to fit around outlets, switches, or the edge of the wall. A wet saw or handheld tile cutter can be used for this purpose.


