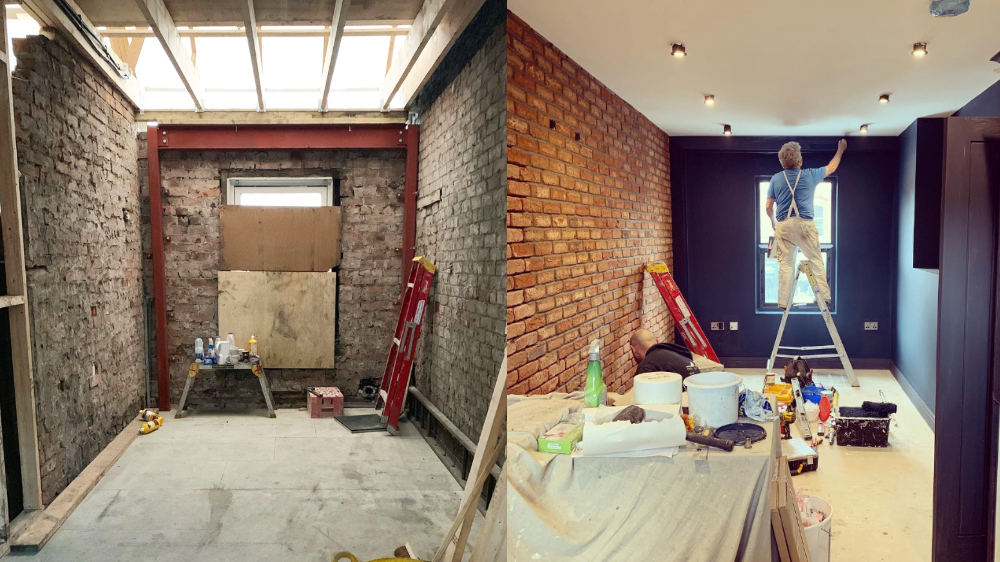
 If there’s one thing that we’re good at in the UK it’s making the best of a bad situation. The last few weeks of lockdown have seen the nation reach for its collective toolbox in search of productive ways to spend time at home and as a result our houses and gardens are now looking better than ever.
Everyone is getting in on the DIY revolution and here at Brick Slips we are always on hand to help our customers get their creative juices flowing with a DIY brick slips project.
While the idea of DIY brick slips might seem as daunting as going to the gym for the first time, it really couldn’t be easier and in this short guide we’ll show you how to plan your project and achieve your own little slice of brick slip heaven!

Find your inspiration
First things first; you’re going to need some inspiration.
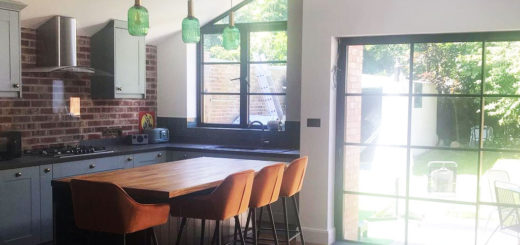
Whether you’re planning a cosy fireplace, a contemporary kitchen or looking to give your busines a facelift we have hundreds of images in our gallery for you to browse.
Our images are all divided into categories making them easy to navigate so you’re sure to find something to inspire your DIY brick slips project.
We offer free samples too so if you see a handful of slips you like the look of you can order samples of each to check them in position.

Although the samples are free there is a small charge for delivery but you will receive a delivery refund voucher towards your final order.
Making a plan
Now you’ve chosen your brick slips it’s time to make a detailed plan.
Carefully measure the area you intend to tile and use the area calculator on our website to work out how many boxes you’ll need. Don’t forget to allow an extra 10% for cuts, breaks, wastage and mistakes.
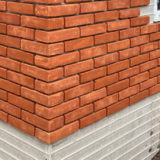
If your DIY brick slips project involves corners then take a look at our corner and reveal slips which are designed to give the appearance of a full brick.
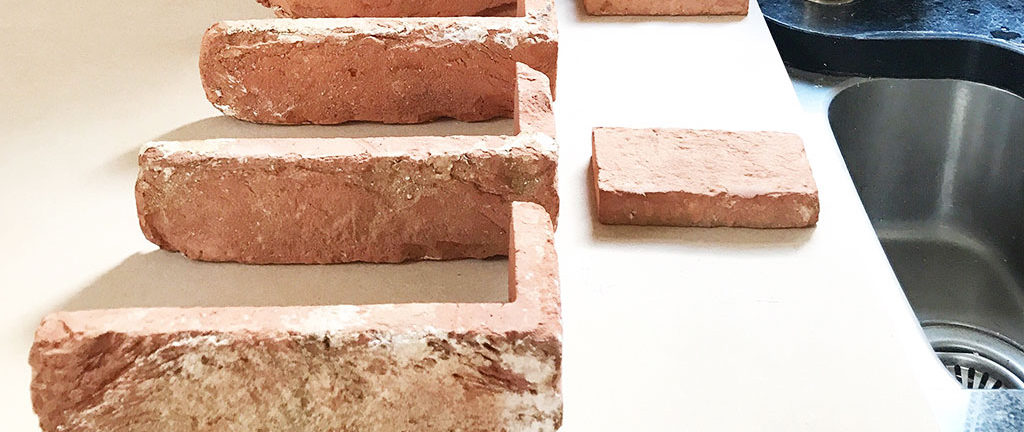
We strongly recommend the use of these slips where appropriate as they really help to make an installation look authentic and indistinguishable from real brick. Without them two brick slips meeting on a corner will immediately give the game away!
As well as brick slips you will need adhesive and mortar for pointing up. Our rapid set brick slip adhesive is perfect for the job and is what we use on our own installations.
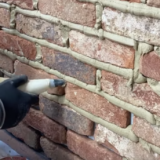
As for mortar we recommend our gun injected pointing mortar for ease of application with DIY brick slips.
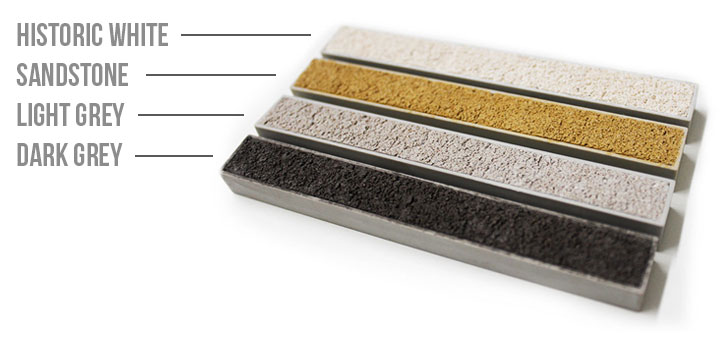
This is available in a range of different colours depending on whether you want to accentuate or reduce the impact of the joints.
In fact everything you need to complete the job is available on our website from tile spacers to trowels. We even offer an 8 piece installation kit at a saving of £15 over buying the items individually. And if you need additional help or advice then our friendly customer service team are only a phone call away.
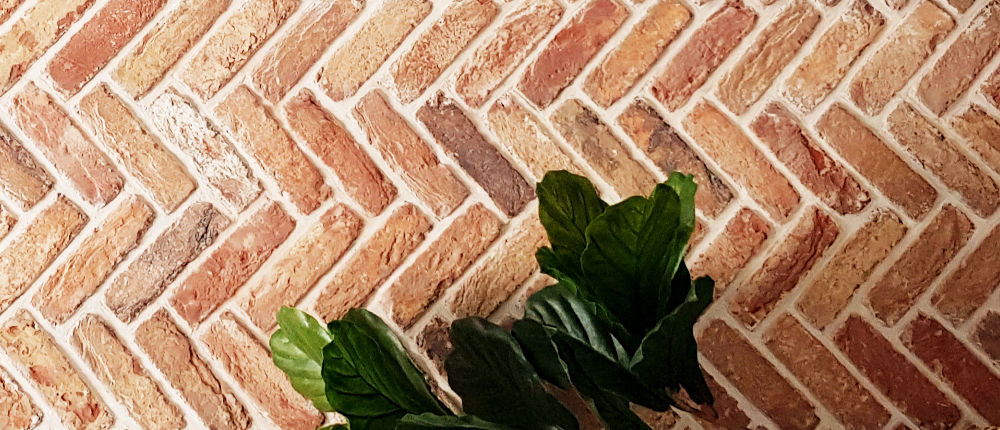
Roll up your sleeves and get started!
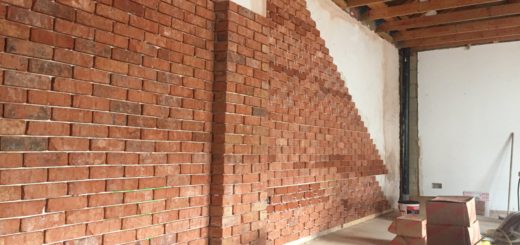
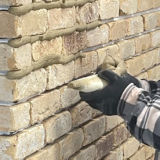
For anyone with experience of tiling the process of installing brick slips will be reassuringly familiar. Even if you haven’t done any tiling before a DIY brick slips project is well within the scope of the average DIYer.
If anything, the slightly imperfect nature of brickwork lends itself more readily to the DIY installer as millimetre perfect joints are not necessarily the aim.
If you take your time, protect your flooring and have plenty of clean water and old towels to hand to mop up any unwanted mess then it really is as easy as laying one slip at a time!
Take a look at our technical guide on Brick Slip DIY Installation here for a detailed run down of the installation process.
Stand back and admire
So after all your hard work and planning it’s time to stand back and admire your handy work. Using time spent at home to tackle a DIY brick slips project is a great way to add visual impact and inject some wow factor into any room. And nothing beats being able to say you did it yourself!


